HOME           /           ABOUT           /           ETSY           /           CONTACT

Thursday, December 25, 2014

Merry Christmas!

Editor's Note: Our little photoshopped Christmas card photo, shown below, probably depicts how much I love Christmas. However, I didn't always feel that way. I wrote this fun piece for my newspaper last year, and thought it resonates just as much now as it did when I wrote it. I'm sharing it here today.

Also, have a great Christmas. Spend time with family and enjoy yourself! That's an order. ;)

MerryChristmas2014

I’ll admit it. I’m a recovering Christmas Scrooge.

I never had an outright dislike for the holiday. It was a more gradual burnout of Christmas overload each year.

Since when did it become a month long monstrosity, filled with stale cookies, annoying songs, forced smiles and gingerbread houses that you’re supposedly not allowed to eat?

It all sounded like hell to me.

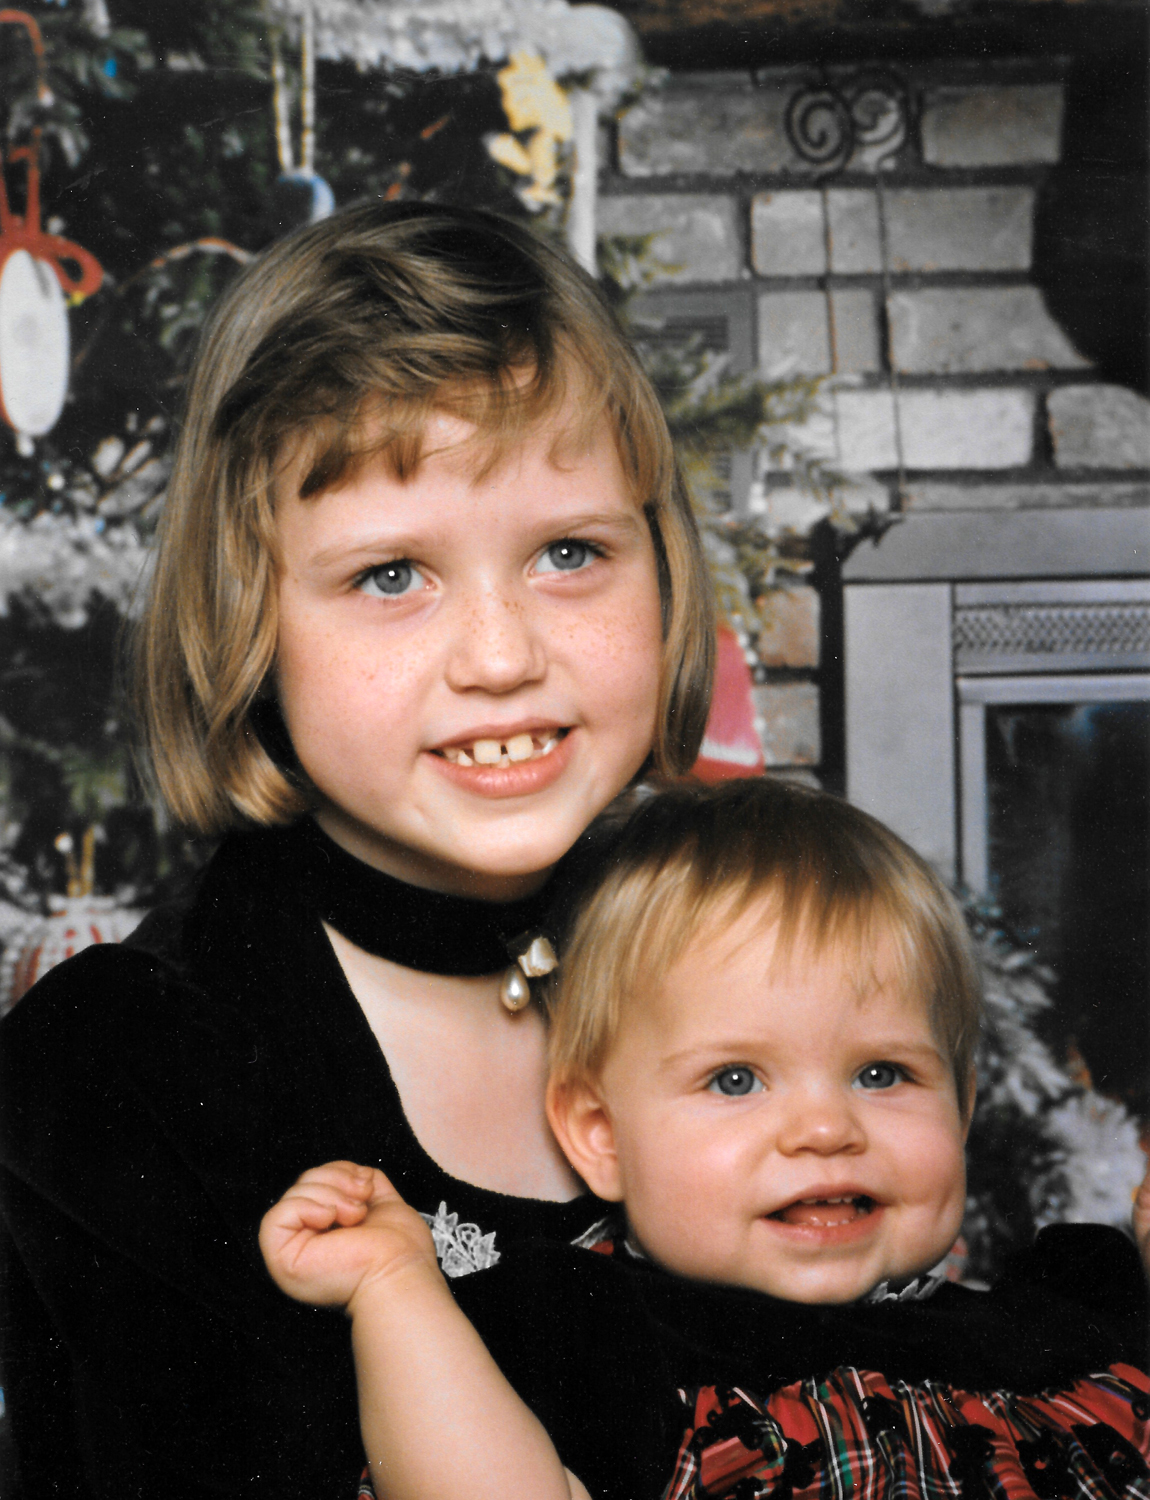
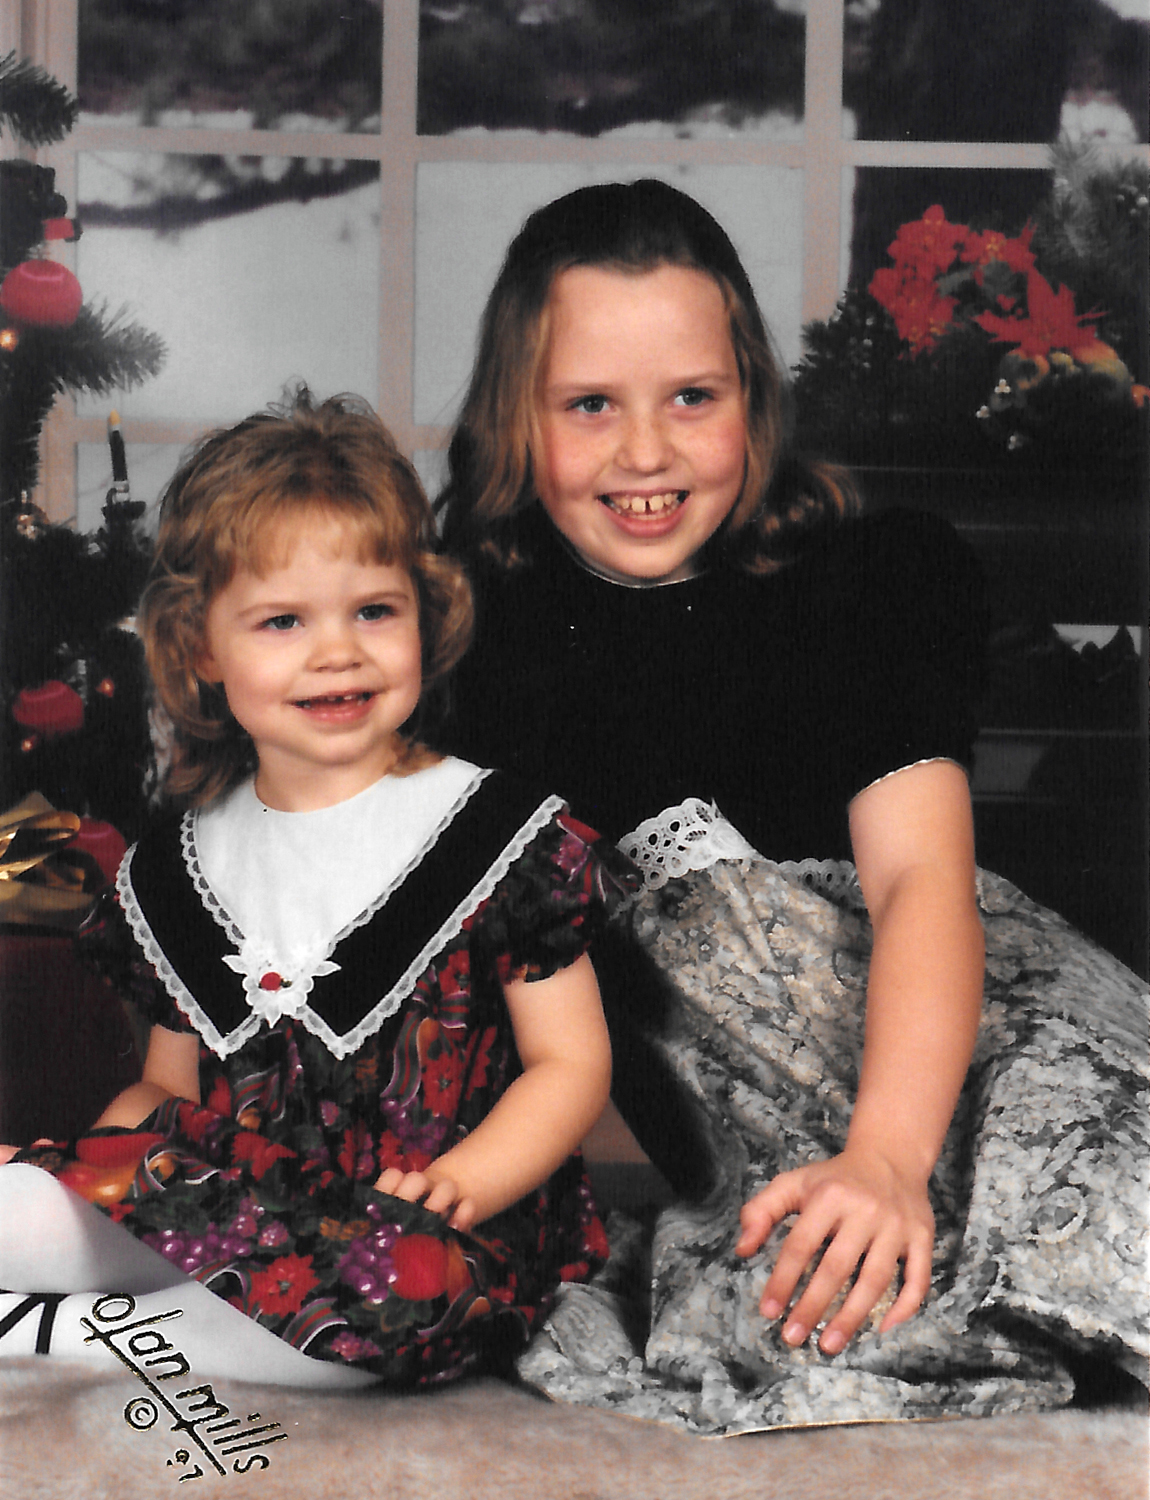
The loathing probably began in my adolescence, after the magic of receiving presents dulled, and family gatherings began to feel too routine.

Worst of all for me were all of those stop-motion specials playing repeatedly on television. You know, the ones where all the characters are made of clay. Those movies were the proverbial fingernails on the chalkboard. Anytime one came on, I cringed. I don’t know if there was ever a time I enjoyed them, even in childhood. At least, until now.

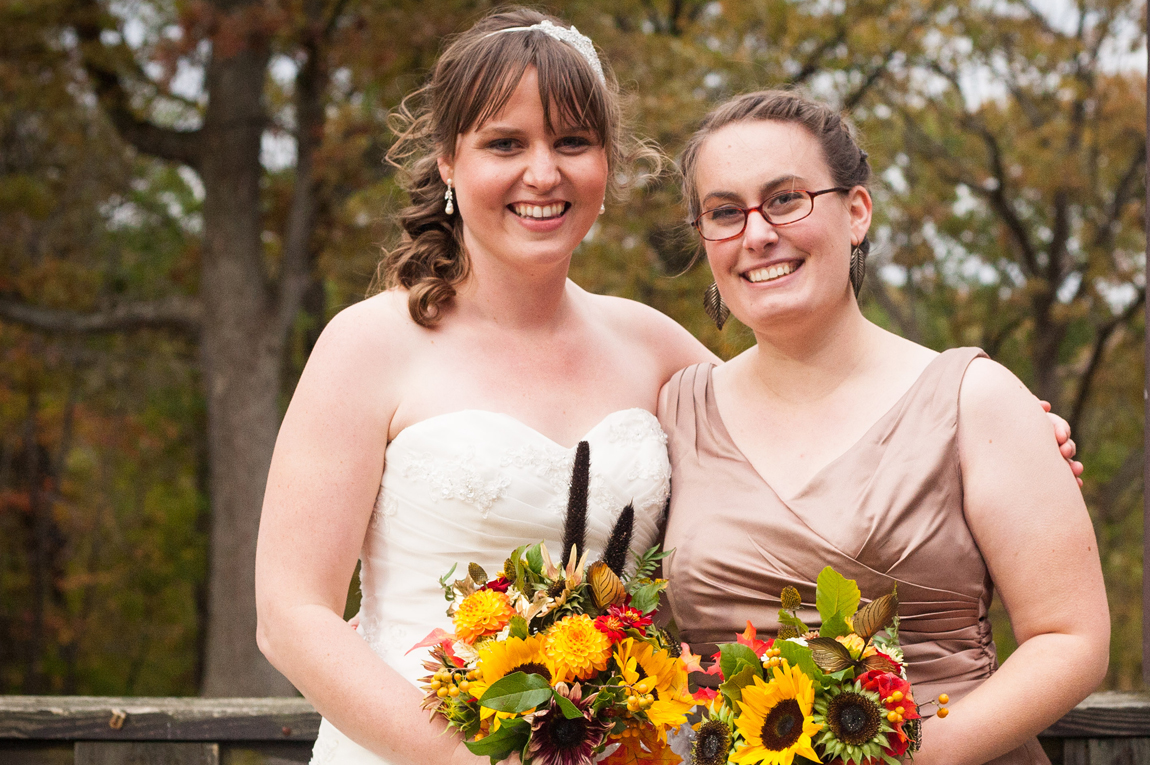
But in October (2013), I got married to my boyfriend of almost six years, Mark. Unlike me, he can’t get enough of Christmas.

While he was in graduate school, he decorated the living room of his bachelor pad apartment with an entire set of two-foot tall holiday-themed Peanuts characters, complete with Charlie Brown, Snoopy and Woodstock. He didn’t have the heart to put them away until spring. Seriously.

It doesn’t help that Mark is the embodiment of a Santa in his younger years. He prides himself on his thick, dark beard. Also, he’s a little rounder in the middle. Paired with his affinity for the holiday and his charisma with others, especially children, he could be a believable Santa Claus someday. Despite the bigger, burly man he is, he’s probably more like Cindy Lou in this story, trying to convert the Grinch.

His slow conversion of me began innocuously. Stressing the importance of tree decoration came first. Fluffing the branches is key to a realistic aesthetic with a fake tree, he said. Evenly distributing the ornaments was important, too.

But decorating a tree just to take it down in a few weeks seemed like an unnecessary chore. I let him do most of the work at least for awhile.

Then came the stream of must-see movies. “The Year Without a Santa Claus” was Mark’s favorite. It’s one of those claymation movies I have gotten annoyed with so much. I’d let him put the movie on, but I usually can’t sit all the way through it.

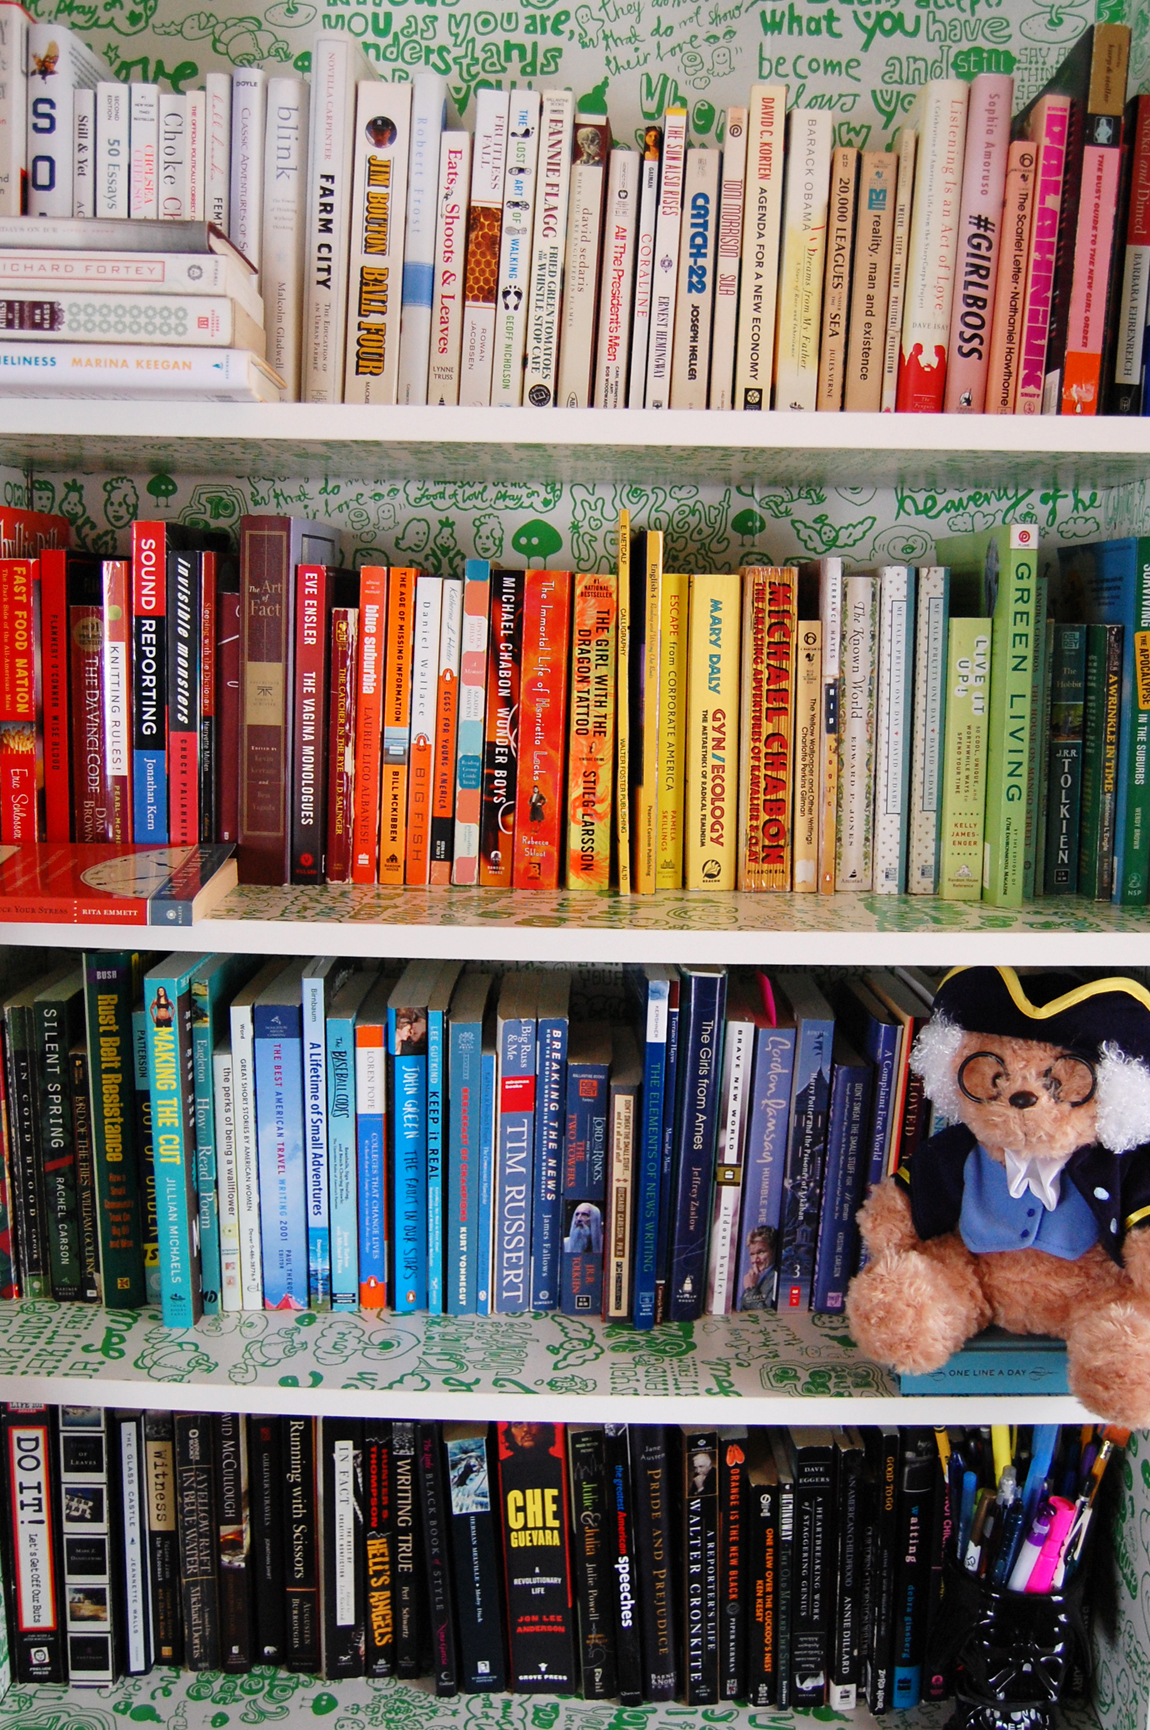
I have always been more of a “Home Alone” kind of girl, anyway. And I could almost always relate to the defiant words of Kevin McCallister: Christmas sucks.

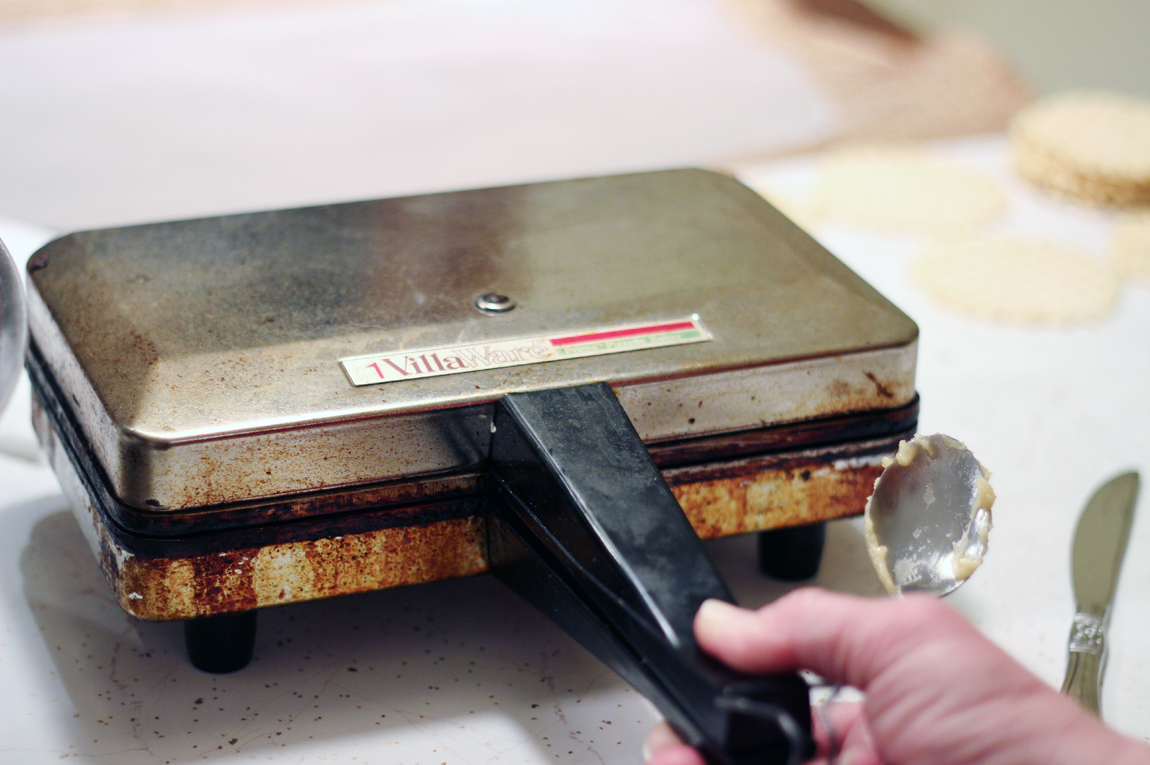
Meanwhile, Mark’s mother, a skilled baker, began giving me tips on how to make the best holiday cookies — there is a difference between melted and softened butter after all. Also, I could see where Mark got his spirit.

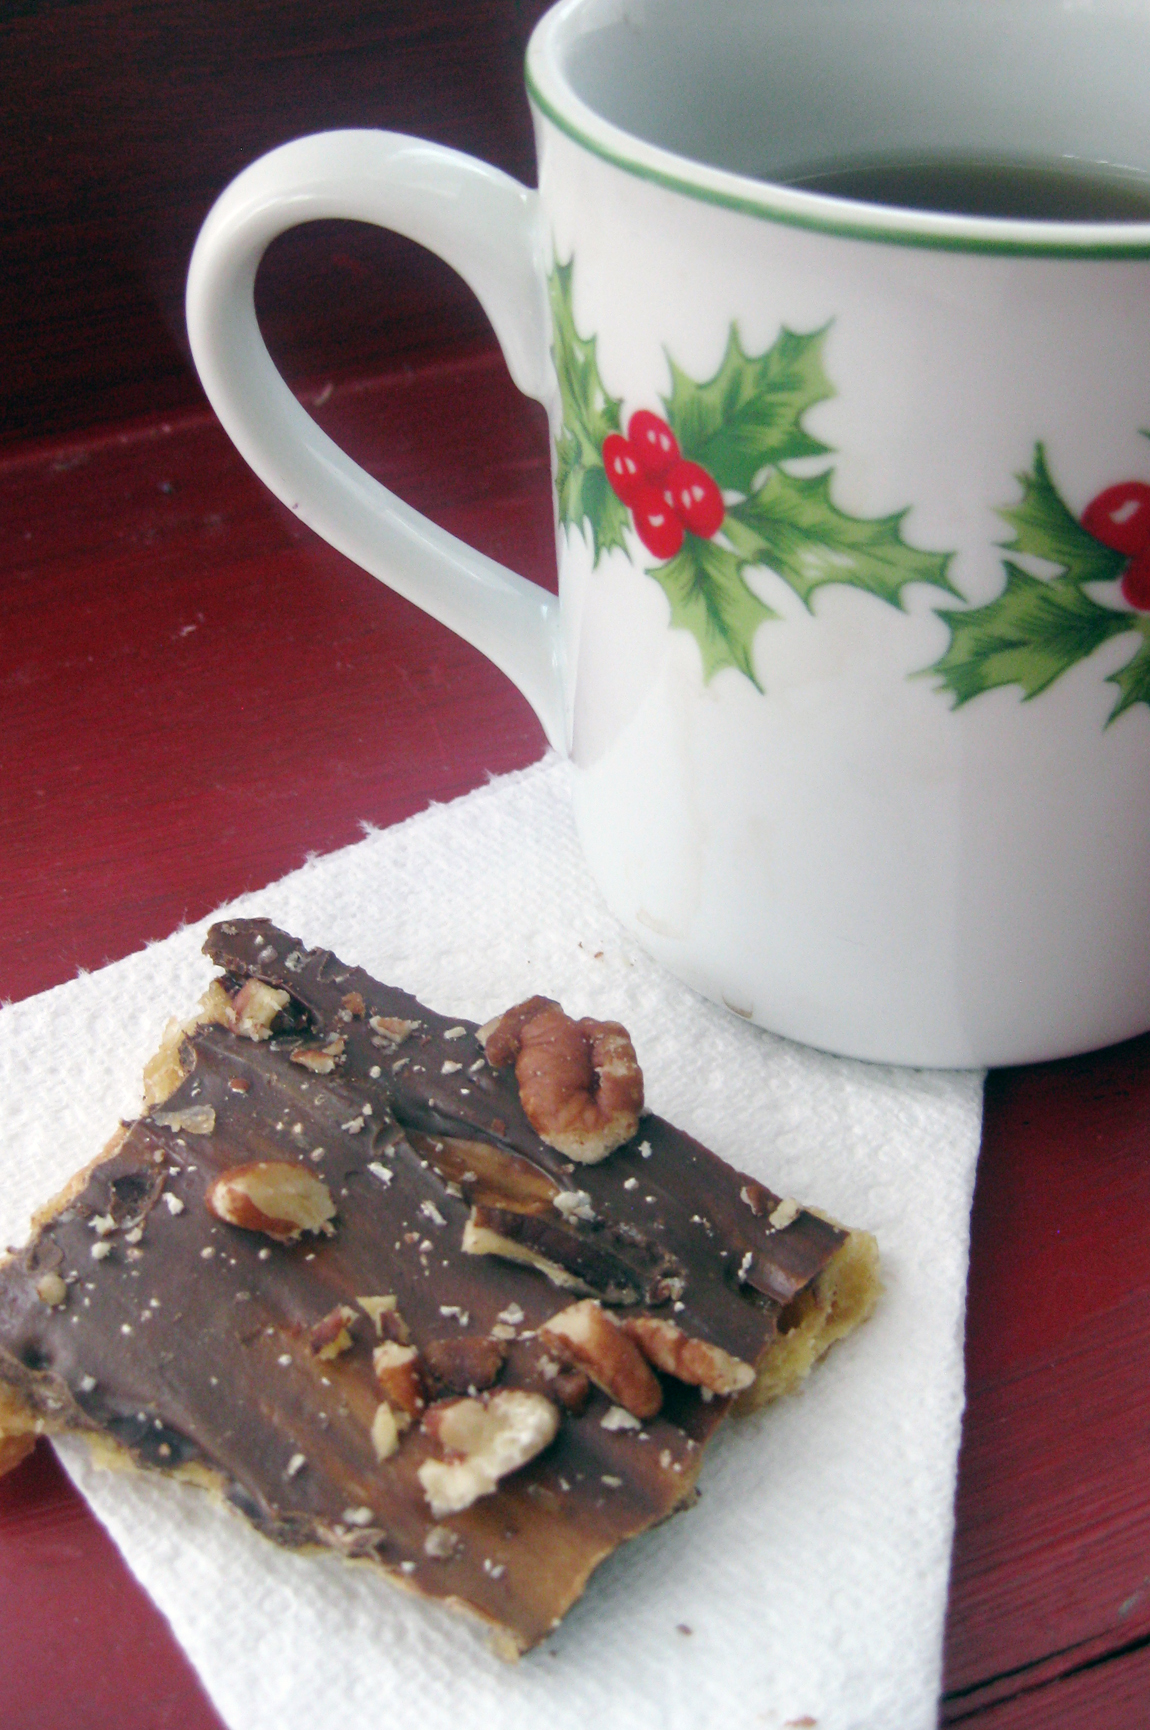
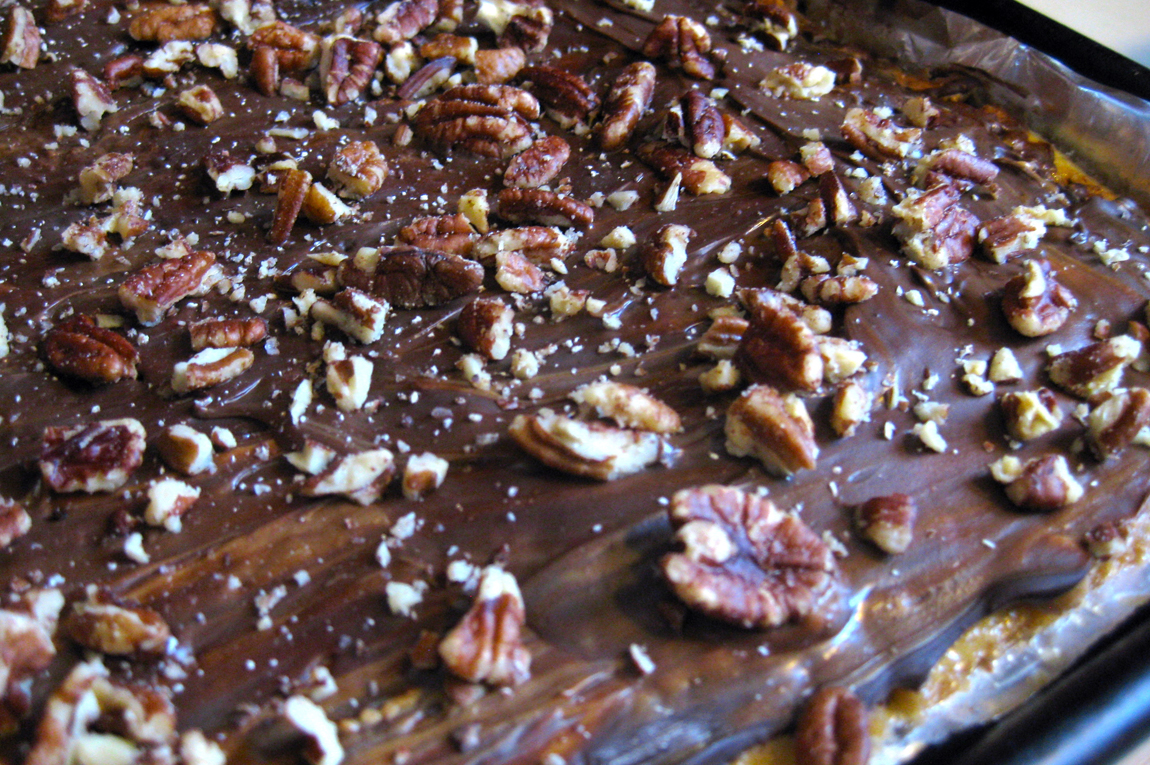
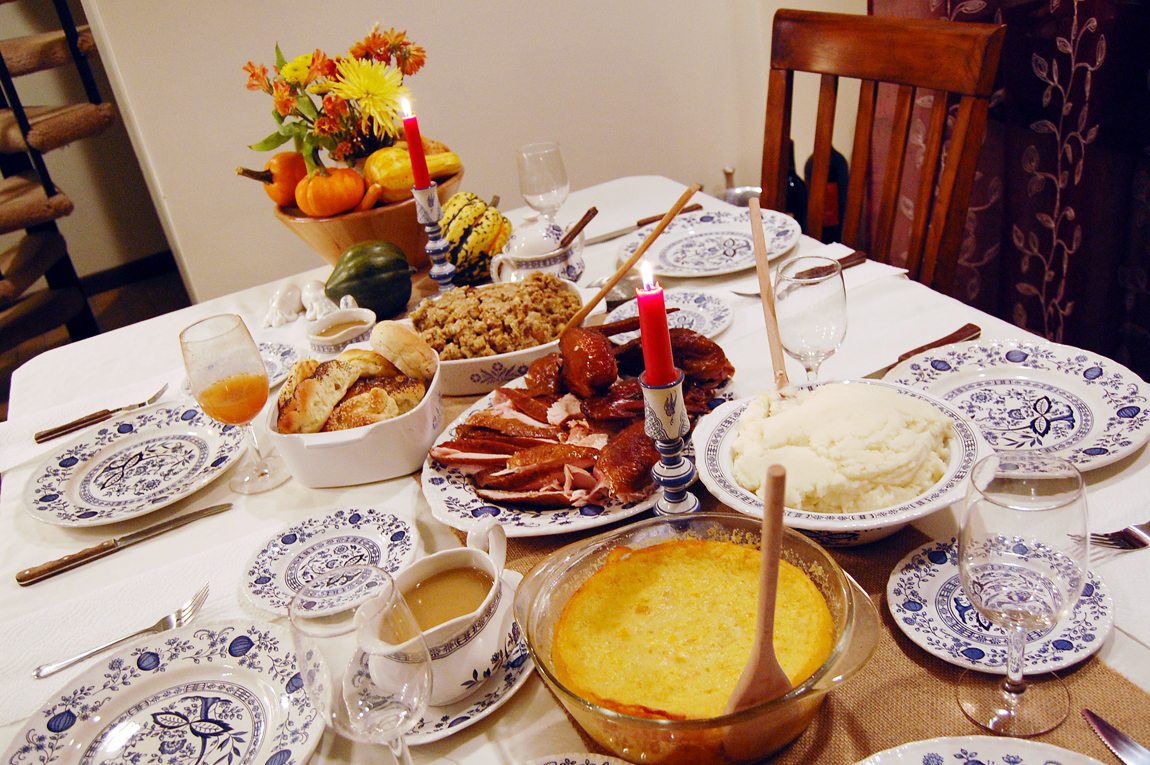
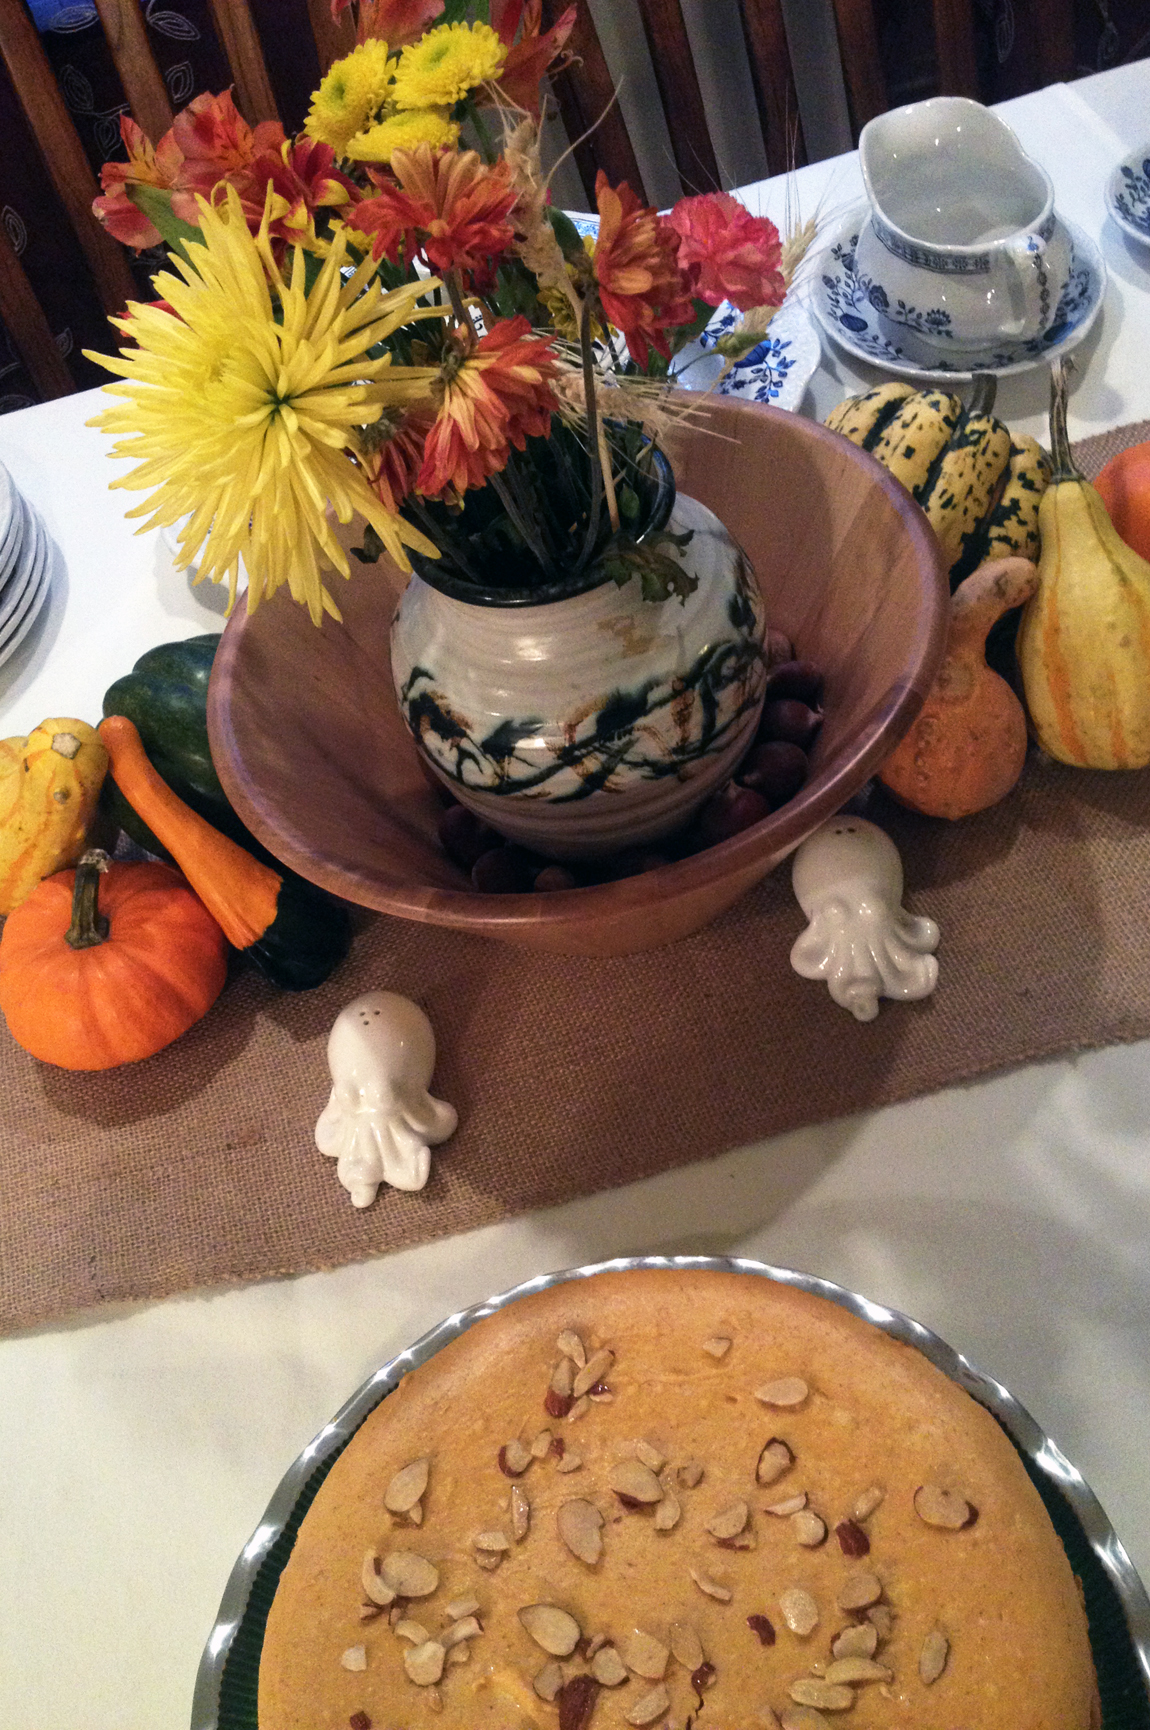
Each year, his mother decorated the house with lights in every room, multiple trees with hundreds of ornaments, and stacks upon stacks of cookies, biscotti and homemade candies on trays. I could go on about other details — the wreaths, the neatly wrapped presents, the train set with a neighborhood of miniature houses under the tree.

Any time between Thanksgiving and New Year’s, going to his parents’ house was like visiting a live-action Christmas card. It wasn’t forced, but intricately done. I could see why Mark loved it.

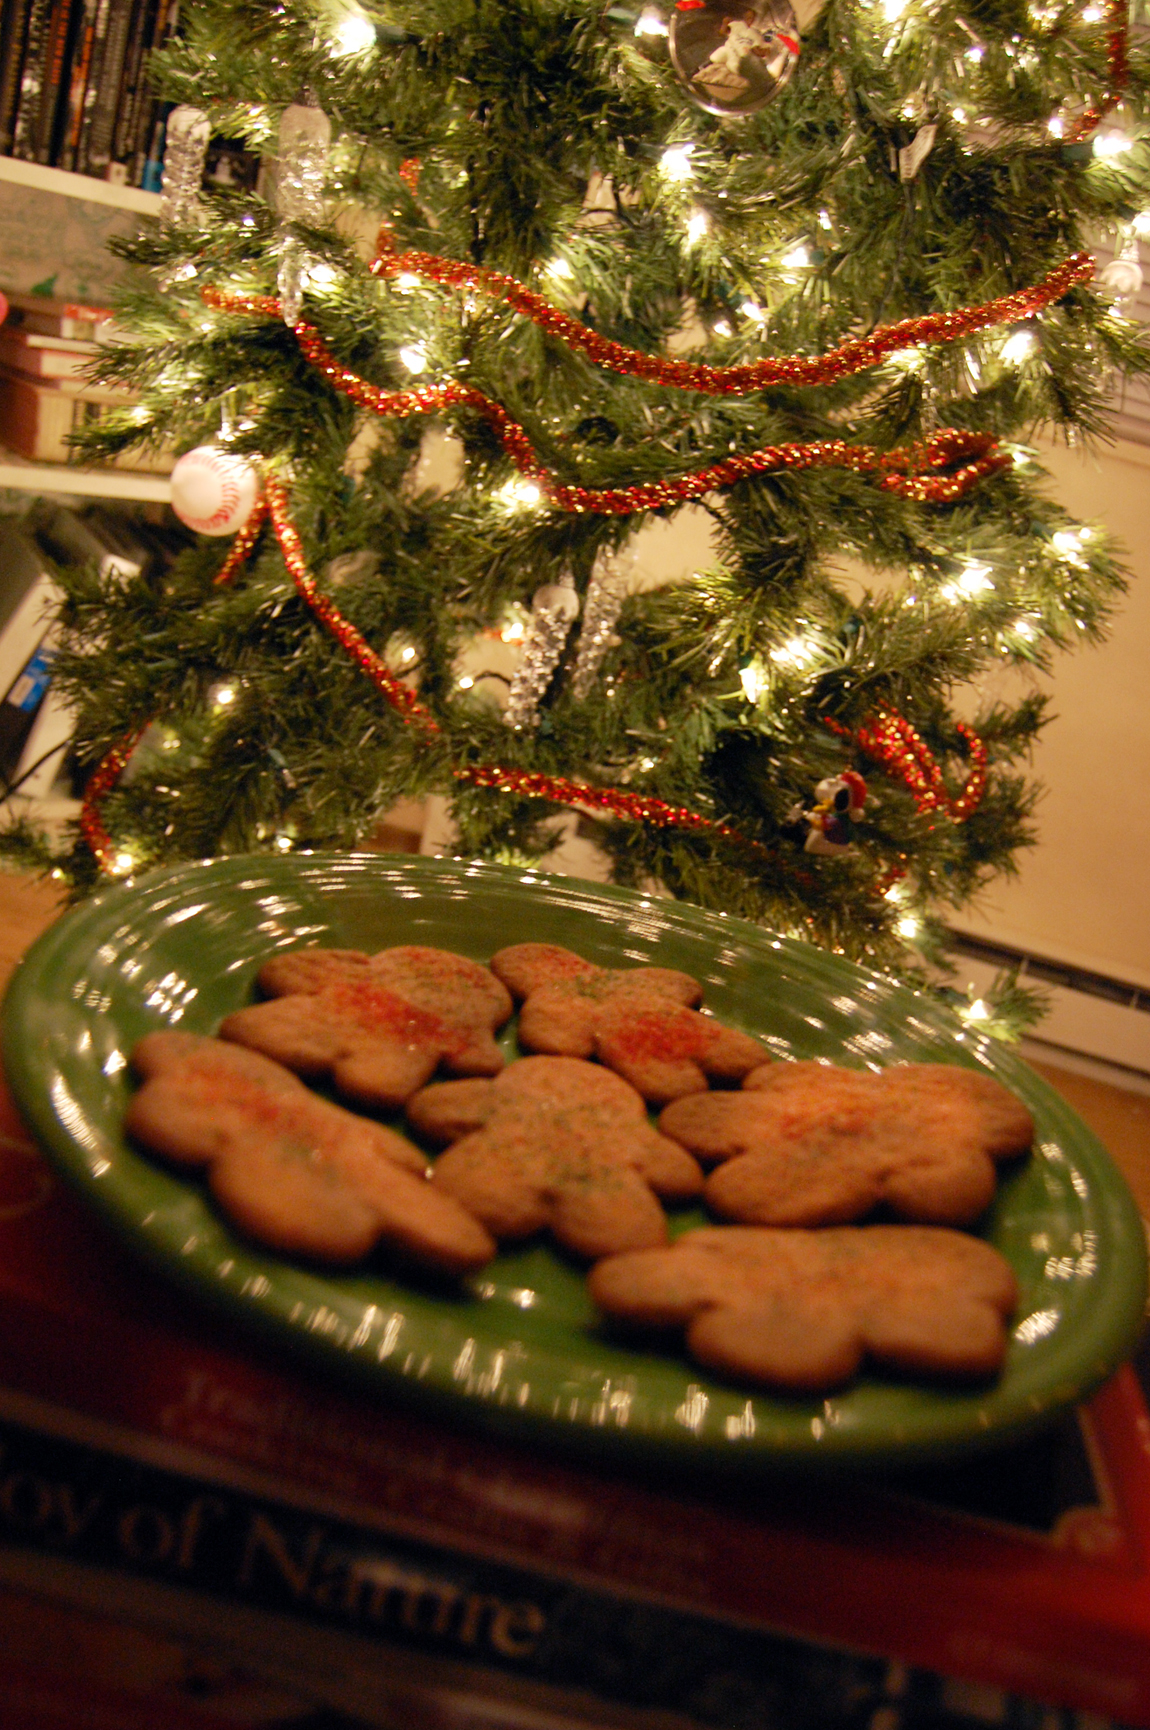
This year, something strange happened. I found myself getting eager to put up the tree, and wanting to pull down childhood ornaments from the attic I hadn’t seen in years.

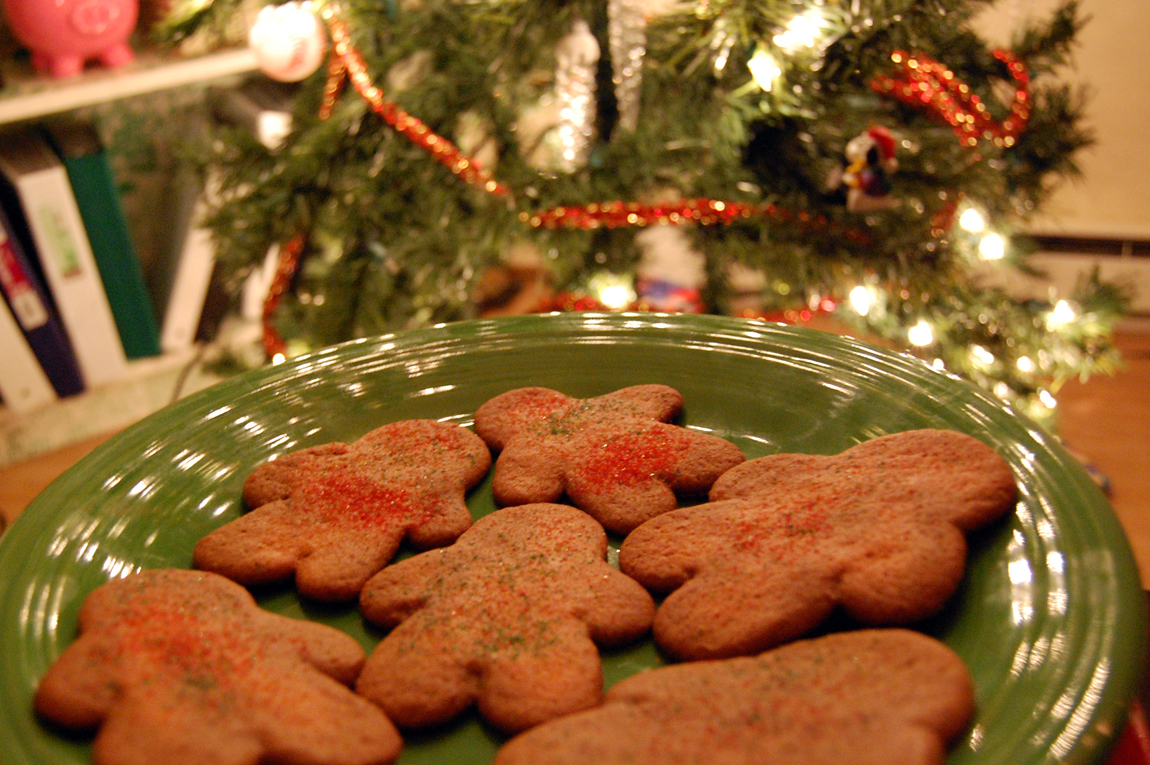
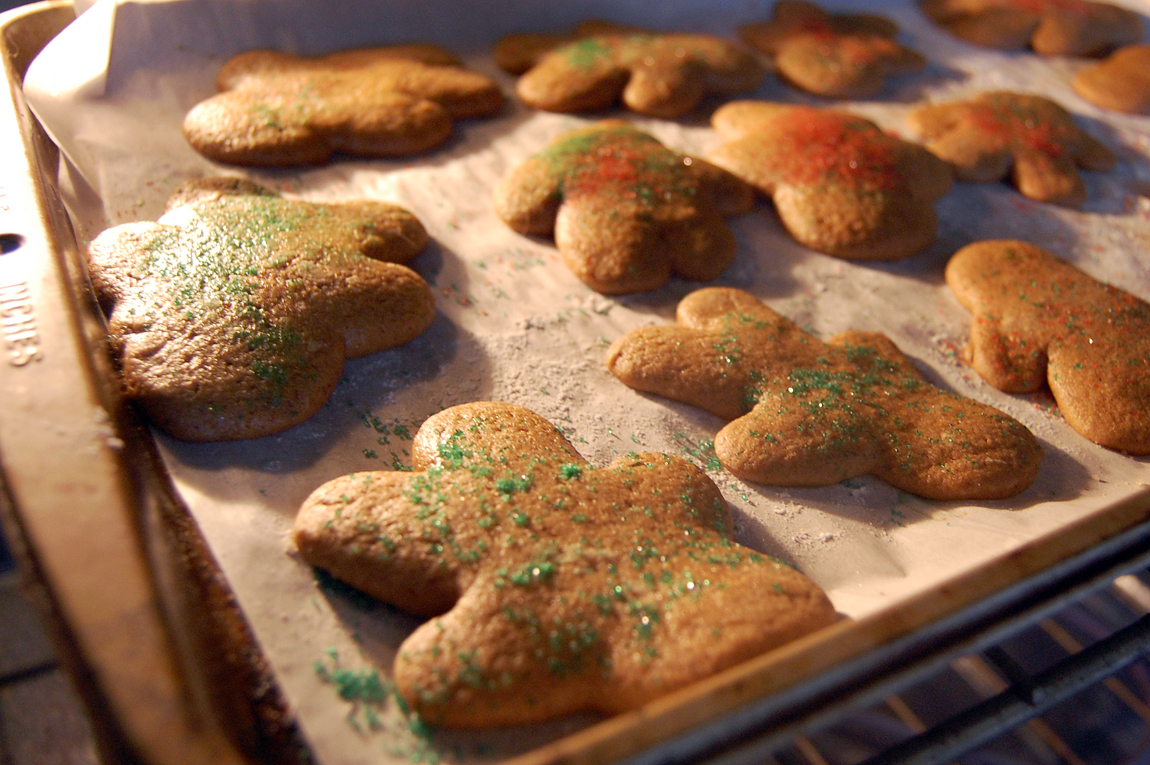
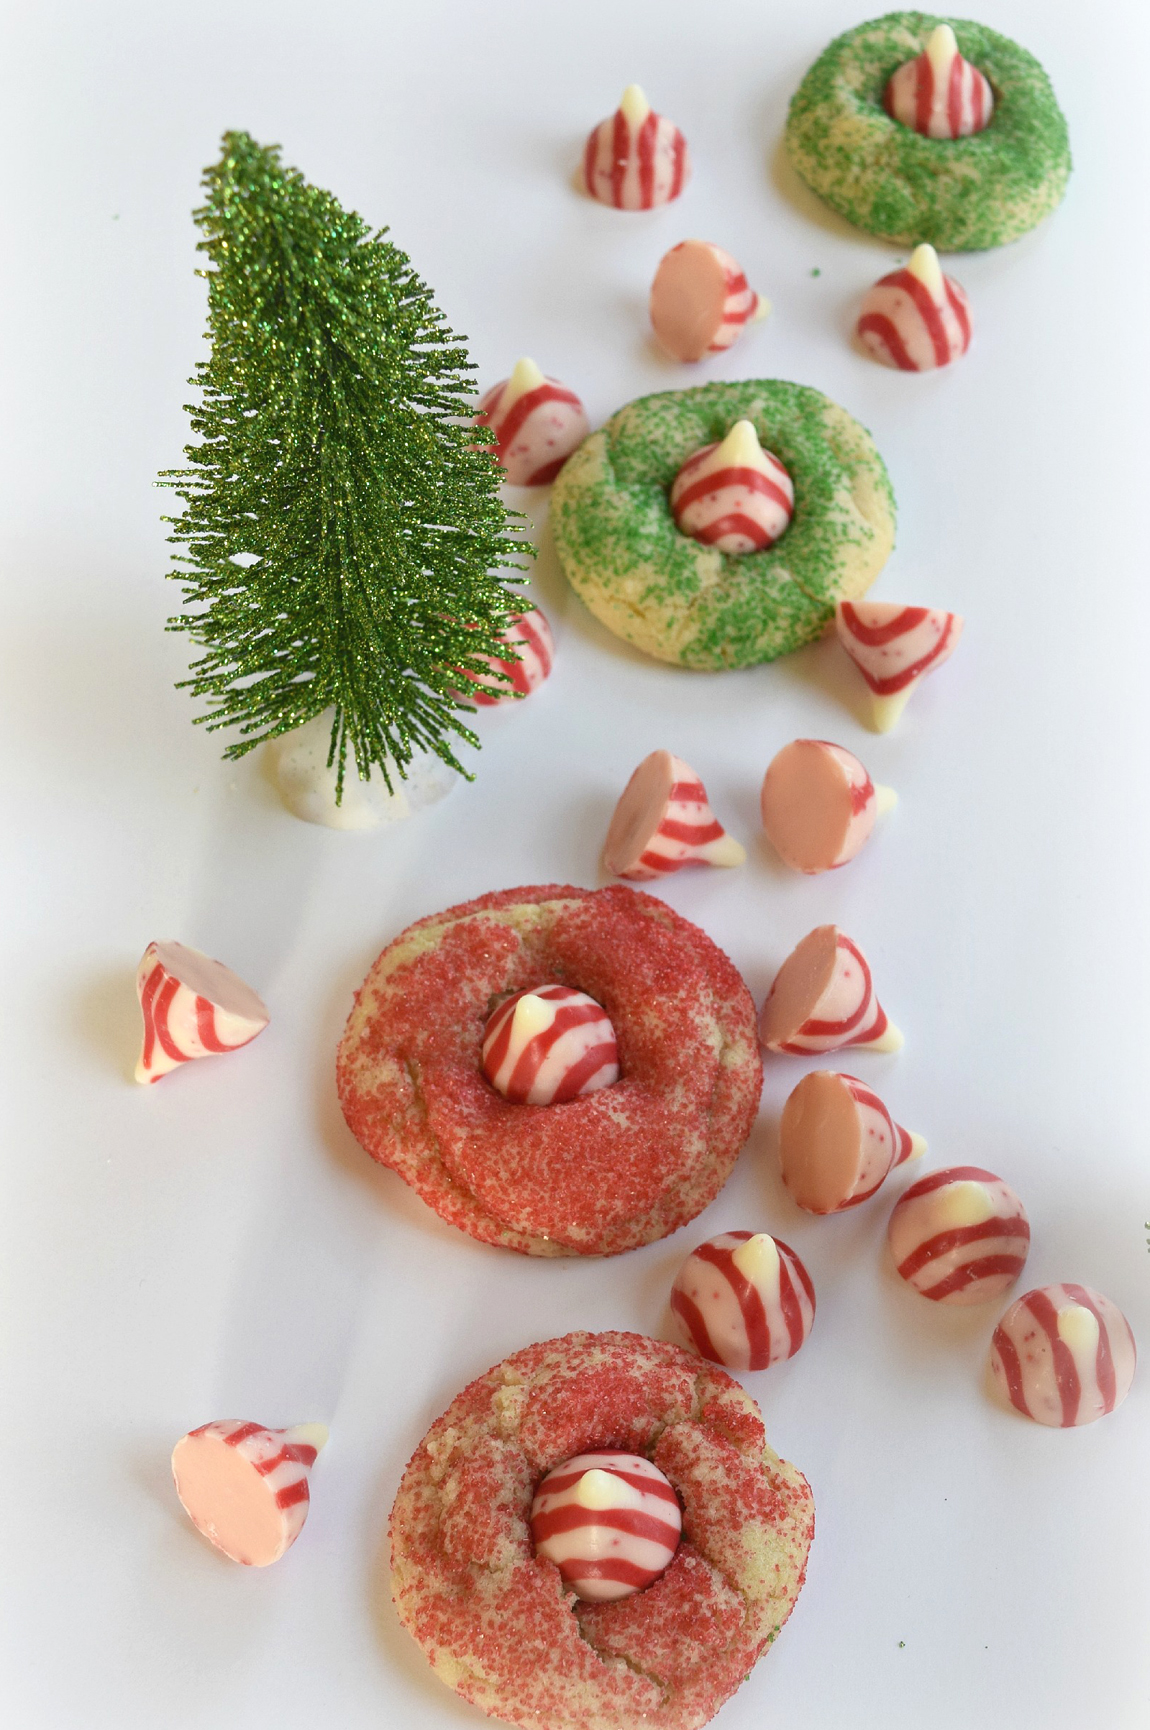
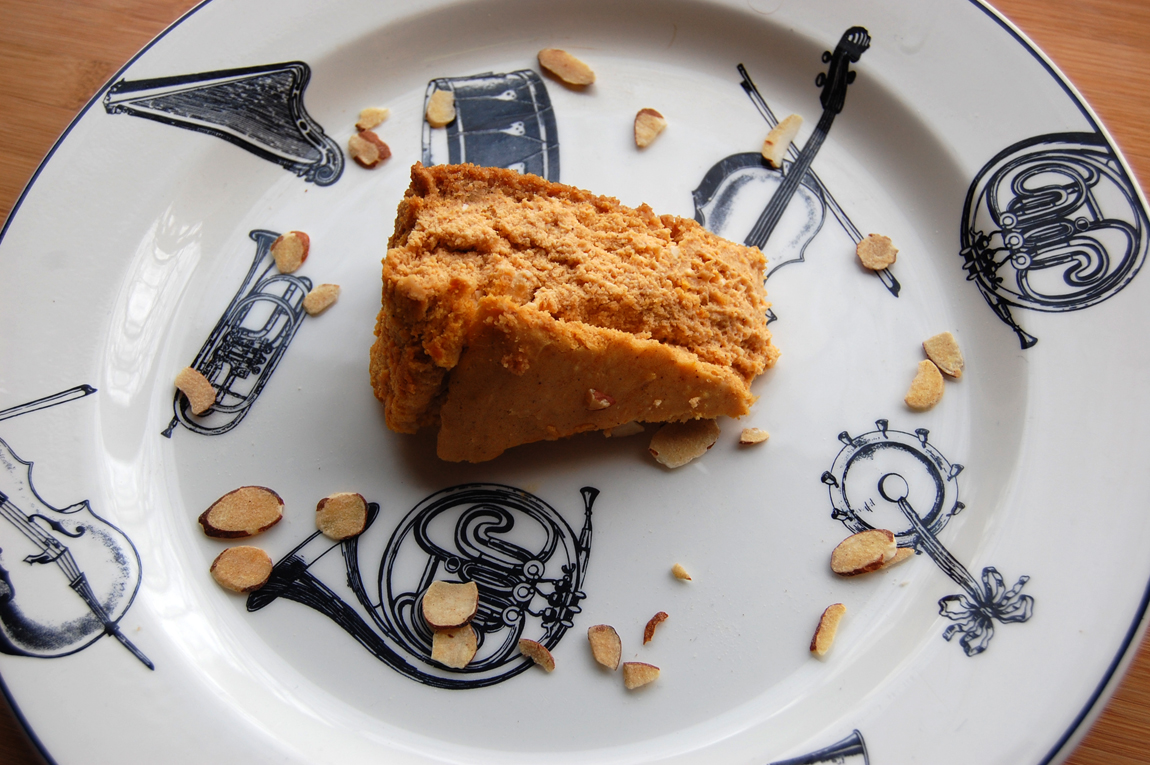
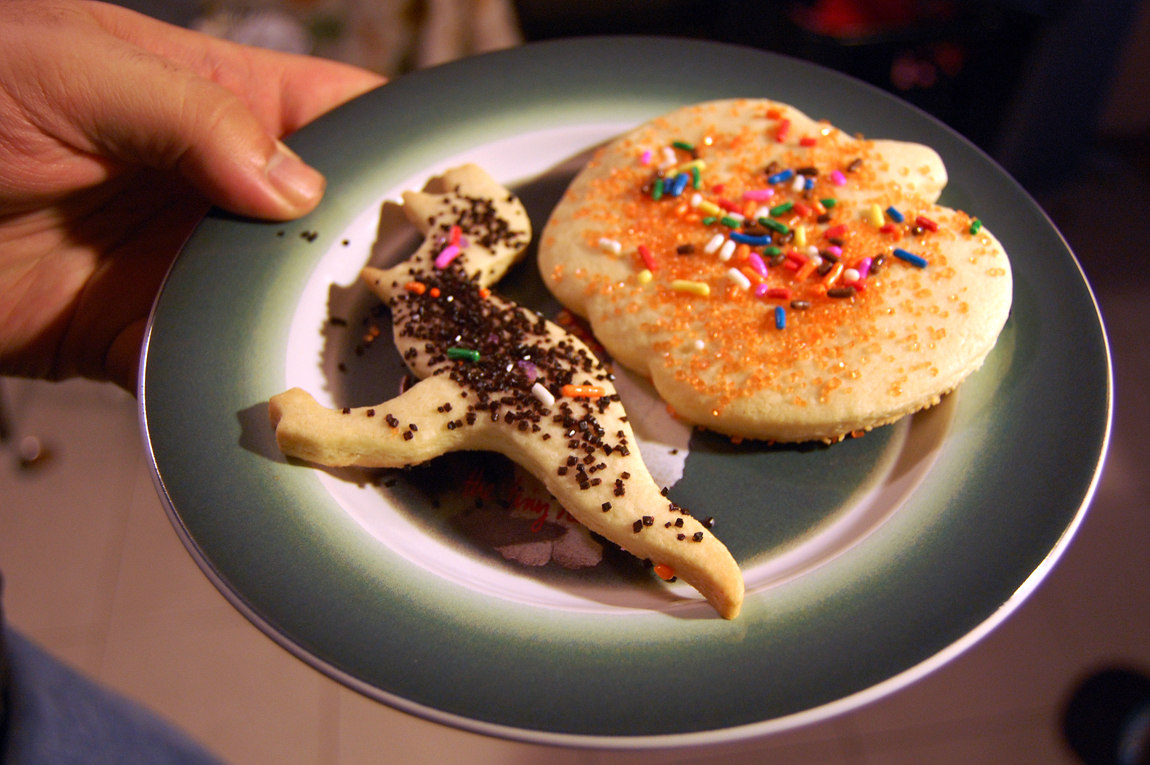
I couldn’t stop baking cookies either. Trying out new recipes kind of became an involuntary tick. Multiple batches of gingerbread, snickerdoodles and sugar cookie dough began piling up in the refrigerator.

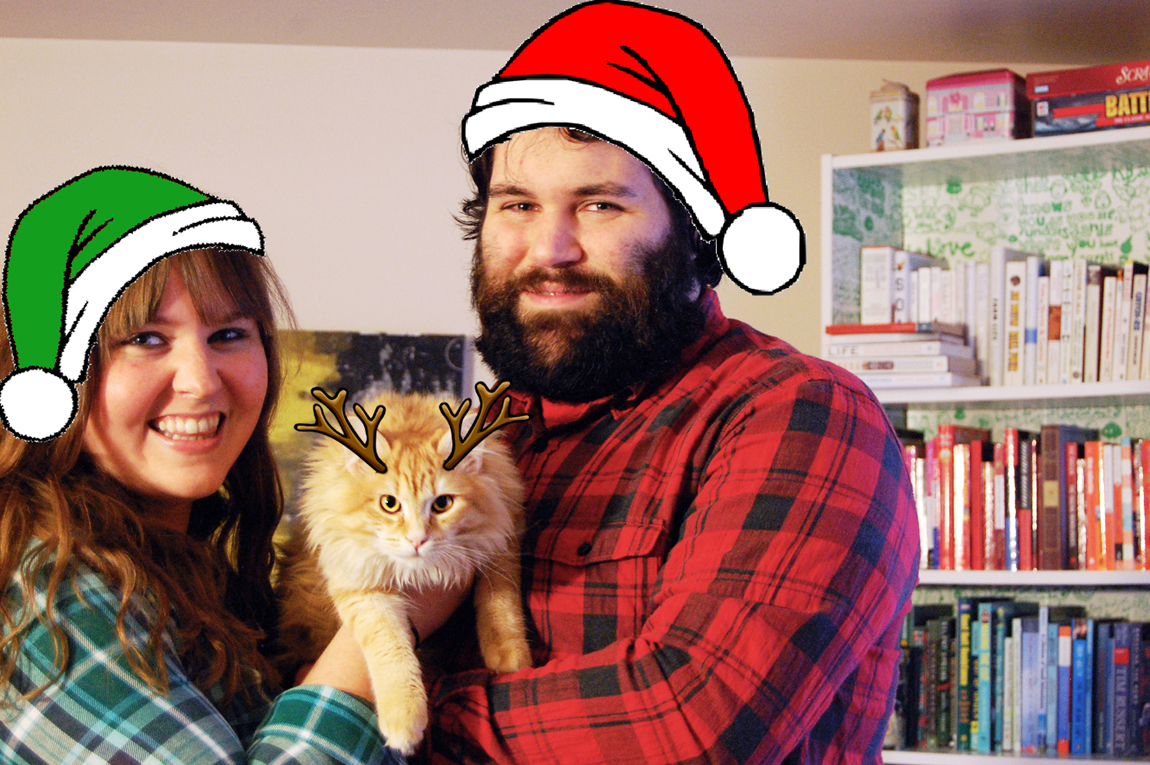
I even designed my own Christmas card for family and friends. It was simple. Using Photoshop and a wedding photo, I edited a Santa hat onto each of our heads. I made Mark’s hat red. Mine was green. Guess it doesn’t take much to make things festive.

It seemed like the Christmas spirit was becoming contagious.

Even the stop-motion movies became fresh again. I hadn’t watched one of those all the way through in so long that I had forgotten what they were all about.

Perhaps that’s what happened to me and Christmas. I was so quick to dismiss old traditions that I wasn’t able to relax and fully enjoy the love that had always surrounded me. I don’t think my heart was ever two sizes too small, but I do think love was the one constant that converted me into a believer again. I’m already excited for next year.

Wednesday, December 24, 2014

Gingerbread Cookies

Note: I recently asked bloggers to share some of their favorite Christmas cookie recipes, along with memories of making them, with the hopes it could be an online version of a Christmas cookie exchange party.

Today's recipe is from yours truly, with a holiday classic: Gingerbread cookies!

GingerbreadCookiesCloseup@Tree

If there's a kind of cookie out there that's synonymous with Christmastime, it has to be gingerbread.

As a kid, I always loved getting the gingerbread house kits sold at stores, complete with the thick, rectangular pieces, generic gumdrops in plastic baggies, and the glue-like icing to hold it together. Somehow I would always have selective amnesia after Christmas, thinking the gingerbread house was going to taste awesome after sitting out and getting stale for weeks.

This same thing happened a couple years ago, when childhood reminisce got the best of me and I couldn't resist buying a kit. I had been duped with stale, cardboard tasting gingerbread. AGAIN.

To combat these gingerbread atrocities, or just the fact that I wanted to make gingerbread myself, I made this kind of cookie from scratch for the first time last year. The process is about the same with cutout sugar cookies; the dough is best to work with when refrigerated overnight. It's a detail I almost always forget.

Anyway, I made this particular batch of cookies last week to bring to a little work Christmas potluck, and they were the first thing to go.

Mark also contends it's the best gingerbread he's had, with the perfect balance tang and sweetness. That means a lot, considering he's the biggest food snob I know. (I love him dearly, but his mom spoiled him with confections growing up. She had her own baking business at one point.)

Besides molasses being pretty hard to come by in the store this time of year, this recipe was pretty easy. I might also lighten up on the baking powder, since my men puffed out a bit more than expected.

But I think that smelling these through the house and tasting them is something I would like to do each year. If I were to make only only holiday cookie each year (though doubtful), I think this one would be it. Anyway, enjoy!

GingerbreadCookiesBaking

GingerbreadCookies@Tree

Gingerbread Cookies
Recipe via The Taste of Home

Yields about 18 cookies

Ingredients:

• 2/3 cup shortening
• 1 cup sugar
• 1 egg
• 1/4 cup molasses
• 2 cups all-purpose flour
• 1 teaspoon baking soda
• 1 teaspoon salt
• 1 teaspoon each ground cinnamon, cloves and ginger
• red and green sugar (optional)

Directions:

In a large bowl, cream shortening and sugar until light and fluffy. Beat in egg and molasses. Combine flour, baking soda, salt and spices; gradually add to the creamed mixture and mix well. Refrigerate for 2 hours or overnight.

On a lightly floured surface, roll dough to about a quarter inch thickness. Cut with a floured cookie cutter into desired shapes. Place two inches apart on baking sheets. (I swear by parchment paper!)

Bake at 350 degrees for 8 to 10 minutes or until edges begin to brown. Remove from pans to cool on wire racks.

This recipe also list a buttercream frosting to use, but I think the cookies taste great as is. Personally, I doubled the recipe so we'd have these cookies for awhile. I also have a preference for these with a softness in the middle, rather than a crunch, so I don't leave them in as long.

Tuesday, December 23, 2014

Laura's Saltine Toffee

Note from Kate: I recently asked bloggers to share some of their favorite Christmas cookie recipes, along with memories of making them, with the hopes it could be an online version of a Christmas cookie exchange party. Today's recipe comes from Laura, of The Pittsburgh Kitchen, who is actually my real-life friend!

I've gotten some great cooking ideas and tips from her over the last few years, and this saltine toffee she made sounds like the most satisfying salty-sweet combo. Enjoy!

cookieandtea@laura

crackers@laura

Recently, I've suffered through a series of baking fails. Not just once but two or three times I've unsuccessfully creamed butter and sugar - this is something I've done without problems many many times, but apparently I'm off my game. Then the other night my friend Sarah came over and I wanted to make these cookies, which call for vanilla pudding mix. I texted Sarah to bring some, but I didn't add any explanation so, not surprisingly, Sarah very kindly brought actual, prepared pudding packs. Just so you know, you cannot substitute prepared pudding for pudding mix. Not good.

You might notice that Saltine Toffee is not actually a cookie and is in fact only barely a baked good at all. Perfect for the inexperienced or formerly-acceptable-but-currently-terrible baker! So I'll be bringing these to Christmas this year, and everyone is going to love them because they are extremely delicious.

noms@laura

breakit@laura

Saltine Toffee

Ingredients:
• 2 sticks (1 cup) butter
• 1 cup brown sugar
• 1 1/2 sleeves Saltines, maybe about 50 crackers
• 2 cups chocolate chips (all chocolate or mixed with white, butterscotch or peanut butter)
• 1 cup crushed pecans, toasted (or crushed heath bars, Oreos, maybe pretzels?)
• a couple pinches of sea salt, optional

Directions:

Preheat the oven to 350 degrees. Cover a baking sheet with aluminum foil and coat it with cooking spray (or just thinly spread some vegetable oil around with a paper towel like I usually do rather than ever buy cooking spray). Arrange the Saltines tightly on the baking sheet, fitting in as many as you can.

Melt the butter in a saucepan. Once it's completely melted, add the brown sugar and stir occasionally until the sugar is dissolved and the mixture is bubbly and a little thickened. Pour the mixture over the Saltines and bake it in the oven for 8 minutes.

Take the baking sheet out and scatter the chocolate chips over the toffee-covered crackers. Put it back in the over for another 2 minutes. When you take them out, spread the chocolate out with a butter knife or thin spatula. Sprinkle the nuts on top, sprinkle with some sea salt if you want, and let cool until set. Then break it up into pieces and eat!

Thanks, Laura!

Below, you'll see her adorable dog Twilly, who is pretty much the face of The Pittsburgh Kitchen. And below that is a picture of Laura and I at my wedding last year. :)

twilly@laura

weddingkate&laura

Monday, December 22, 2014

Femme Frugality's Peanut Butter Blossoms

Note from Kate: I recently asked bloggers to share some of their favorite Christmas cookie recipes, along with memories of making them, with the hopes it could be an online version of a Christmas cookie exchange party. Today's recipe comes from fellow Pittsburgh blogger Femme Frugality.

She's making peanut butter blossoms, which were a staple at my house growing up, too. My mom just made a fresh batch over the weekend. Enjoy!

peanut butter blossoms

When Kate asked me to participate in her Christmas cookie series, I was so excited. Who doesn't like cookies? Who doesn't like holiday memories?

There's only one little problem. I stink at making cookies. I'm pretty confident in my cooking abilities. And I can bake a pie like nobody's business. But for some reason cookies are not my forte.

My mother, on the other hand, is a fabulous baker. We'd always have baked goods overflowing when I was a kid as she tried new recipes. Extras would go to church with us, get sent into work with my dad, or be delivered to the neighbors. But those recipes that she was trying? None of them were handed down from generation to generation. While she always baked from scratch, her recipes often came from the back of a box.

For the series, I decided to make my favorites. Peanut Butter blossoms made with Hershey's kisses. There's no secret recipe. It's on the back of the bag. When I went to make them, I noticed the bag was half empty. I almost went postal on my husband, who admitted to scarfing them down, but then I remembered it's Christmastime and we're supposed to be making happy memories. So I halved the recipe. I measured out 1/6 c sugar and tried to figure out how the heck to only mix in half an egg.

When all was said and done, the cookies turned out pretty great. My oldest only ate the chocolate kisses off. And my husband, who had previously eaten half the bag, preferred the cookie itself to its chocolate ensemble. The rest of us enjoyed them whole with smiles on all of our faces.

I think it's the quirky things that make our holiday memories memorable. Special. Worth repeating. Maybe next year the husband can "secretly" inhale half the bag again. My oldest will happily smear warm chocolate across their face and throw the peanut butter goodness on the floor. Why not? I've already mastered the art of splitting an egg in half.

Without further ado, here is our super secret Peanut Butter Blossom recipe, brought to you by warm, quirky memories and, of course, the back of the bag:

Peanut Butter Blossoms

Ingredients:

  • 1/2 c shortening
  • 3/4 c creamy peanut butter
  • 1/3 c granulated sugar
  • 1/3 c brown sugar
  • 1 egg
  • 2 T milk
  • 1 t vanilla extract
  • 1 1/2 c all-purpose flour
  • 1 t baking soda
  • 1/2 t salt
  • Additional granulated sugar
  • Directions:

  • Heat oven to 375 degrees Fahrenheit. Remove wrappers from chocolate.
  • Beat shortening and peanut butter in a large bowl until well blended.
  • Add 1/3 c granulated sugar and brown sugar. Beat until fluffy.
  • Add egg, milk, and vanilla. Beat well.
  • In a separate bowl, stir together flour, salt and baking soda. Then gradually beat it into your peanut butter mix.
  • Shape the dough into 1 inch balls. Roll those balls in the "additional granulated sugar" until they're fully covered. Place on an ungreased cookie sheet
  • Bake for 8 to 10 minutes, or until lightly browned.
  • Remove from oven, and immediately press one Hershey's kiss in the center of each cookie.
  • Carefully remove from the cookie sheet and onto a cooling rack. This helps make sure the kisses don't just melt everywhere. Cool completely, then enjoy!
  •  

    Sunday, December 21, 2014

    DIY Christmastime Pennants
    made with paint samples

    This is the perfect craft for doing something that's relatively easy while feeling like a badass.

    roomfullapennants

    christmaspennantscloseup

    Let me explain: Paint samples at stores are typically free, since the intent is to get an idea of what color you'd like to paint a room. But taking 30 or 40 of them looks kinda weird. Oh well.

    Anyway, I initially made pennants from paint samples for my wedding, believe it or not. They were hung up by the bar. Afterwards I repurposed them as living room decorations, where they hung for nearly a year.

    But those pennants were variations of orange, and didn't quite fit in with the Christmastime color scheme, so I decided to make more festive ones. Just keep in mind that this craft isn't limited to Christmas, but can be for any occasion with any color palette.

    DIY Pennants, made with paint samples
    Makes two sets of eight pennant strands.

    What you need:
    • 32 paint samples, preferably 16 pairs, in colors of your choosing (if you're anything like me, grab a few extras in case of mess ups)
    • rubber cement or other adhesive
    • scissors
    • string
    • hole punch

    Directions:
    First, since paint samples aren't two-sided, is to glue pairs of paint samples together. I matched up colors, but you can do it however you like. Set aside to dry. Next, cut paint samples into triangles. I used an extra paint sample to make a stencil for the rest. Then punch holes into the corners and string together. Voila! Some classy looking decor that barely cost anything to make!

    whatyouneed

    pennantmakinghijackedbykitty

    Waldo wanted to help, too. :)

    Do you have any favorite holiday decor?

    Tuesday, December 16, 2014

    Angela's Pizzelles

    Note from Kate: I recently asked bloggers to share some of their favorite Christmas cookie recipes, along with memories of making them, with the hopes it could be an online version of a Christmas cookie exchange party. Today's recipe comes from Angela, of The Passionista.

    I'm actually a recent pizzelle convert myself, since my mother-in-law makes them around the holidays every year. :) I'm sure Angela's family recipe is just as good. Enjoy!

    Hi there! I'm Angela from The Passionista, and I'm thrilled to be sharing one of my family's cookie recipes here on Kate's blog.

    PizzellesFinished-OnlineAngelaHasPizzellePizazz

    I have to admit, my Italian family goes way overboard every holiday season with cookies... we're busy in the kitchen from the 1st of December until a couple days before Christmas baking up a storm. We change up the assortment yearly, but these pizzelles are a staple. They are a light, less sugary cookie and very simple to make, too!

    Pizzelles

    Ingredients:
    • 6 large eggs
    • 4 cups flour
    • 1 to 1 1/2 cups sugar (depending on how sweet you like them)
    • 1 cup oil
    • 2 tsp. vanilla extract
    • 1/2 bottle anise extract (you can use any extract flavor you like here)
    • Pizzelle Iron, found here

    PizzelleDough

    PizzelleIron

    Directions:
    Step 1// Beat all of the eggs together in a large bowl. Then, add your oil & sugar and mix until evenly distributed. Next, add the extracts.
    Step 2// Add your flour, mixing in each cup as you go. The consistency should be pretty wet, but not runny.
    Step 3// Heat up your iron until the light turns on. Take a tablespoon or a small ice cream scooper and place the batter in the middle of the pizzelle iron, to get that pretty design nice and even on your cookie.
    Step 4// Close the iron, squeeze it together for about 20-30 seconds, depending on how "brown" you like yours.
    Step 5// Open the iron when it's done cooking, and slide the cookie off of it using a spatula.
    Step 6// Let cool & enjoy.

    Pizzelles are an unusual cookie for those who have never tried them. But, they are a nice change from all of the rich sweets we eat around this time of year and go perfectly with your morning coffee. I hope all of you are enjoying this month with your loved ones! Thank you, Kate, for allowing me to share this!

    ** Pizzelle iron gets VERY hot and often leaks oil from the batter off the sides, please be careful!**

    Monday, December 15, 2014

    Justine's Peppermint Kiss Blossom Cookies

    Note from Kate: I recently asked bloggers to share some of their favorite Christmas cookie recipes, along with memories of making them, with the hopes it could be an online version of a Christmas cookie exchange party. Today's recipe comes from Justine, of The Red Lip Chronicles.

    If you look closely, you'll notice she's wearing a very appropriate pastry-inspired dress in her photo. :) Enjoy!

    Hi! My name is Justine and I blog over at The Red Lip Chronicles.

    JustinesMintHersheyKissBlossom3Justine

    I'd love to share with you a new twist on a favorite holiday cookie of mine the Hershey Kisses Blossom Cookie.

    I was so excited when Kate asked me to participate in her holiday cookie recipe posts. That got me thinking what is a holiday cookie to me. There are definitely more traditional holiday cookies that I could think of but this is one of the first things that came to mind. I think it's because I feel like with all the holiday parties I attend this is a cookie staple. It's one of those cookies that looks adorable, is delicious and not too difficult to make.

    Sure enough it always makes its way to the dessert table and I'm not complaining. I wanted to take this cookie that already brings about memories of Christmas gatherings and parties and add a new peppermint twist to it.

    I love the candy cane hershey kisses that come out around the time of christmas. I actually am not the biggest fan of just eating a candy cane (I know -- GASP!) but for some reason I love candy cane flavored foods and drinks. I think that adding this to the blossom cookie makes it that much more festive and unique.

    Admittedly I found some wonderful Cookie Blossom recipes online but I actually just ended up going with the recipe that was on the Hershey Kiss bag.

    JustinesMintHersheyKissBlossom1

    Peppermint Kiss Blossom Cookies

    Ingredients:
    • Hersheys Candy Cane Kisses
    • 1/2 cup butter softened
    • 1 cup granulated sugar
    • 1 egg
    • 1 1/2 teaspoons vanilla extract
    • 2 cups flour
    • 1/4 teaspoon baking soda
    • 1/4 teaspoon salt
    • 2 tablespoons milk
    • Optional: Festive Red and Green Sugar crystals

    Directions:
    Step 1: Preheat Oven to 350
    Step 2: Beat butter, sugar, egg and vanilla in bowl until well blended. Stir together flour, baking soda and salt. Add to butter mixture with milk
    Step 3: Shape dough into 1 inch balls. Optional Roll in red/green or mixture sugars. Place on ungreased cookie sheet
    Step 4: Bake 10-12 minutes or until edges are lightly brown. Remove from oven. Let cool for about 2 minutes
    Step 5: Unwrap and place Hershey Kiss into center of cookie. Let cool completely
    Step 6: ENJOY!

    I hope you enjoyed the cookie recipe and let me know if you try making them! Im sure they'll be a hit at your next holiday party. ;)

    JustinesMintHersheyKissBlossom2

    Thank you, Justine!

    Wednesday, December 10, 2014

    My Long Lost Holiday Friend, Olan Mills

    My mom took studio Christmas photos almost EVERY YEAR when I was a kid, so she could put them in Christmas cards. Just a hunch... she looooved the tree/fireplace backdrop.

    KateChristmas1990

    KateChristmas1991

    KateChristmas1992

    KateChristmas1993

    KateChristmas1994

    KateChristmas1995

    KateChristmas1997

    KateChristmas1998

    Over the last several months, I've scanned thousands of family photos, including all the studio Christmas portraits I could find. These ones span from 1990 to 2000. My sister Ashley was born in November 1994, so she made an appearance in the photos starting then. :)

    I remember wearing the dark green velour/lace dress in that second to last photo for so many occasions around 1997: My cousins' double wedding on the Gateway Clipper, my first Pittsburgh Symphony concert, and this Christmas photo. That gawdy get up has come back to haunt me so many times via old photos.

    And it's pretty obvious I was going into my lengthy awkward middle school phase by the last one. I could never figure out how to keep my bangs straight, and swore them off for years. Until I got them again a couple years ago and now can't imagine my forehead and face without them. Haha.

    I seriously hated studio portraits as a kid, but having this collection now is kind of nice.

    What are some of your favorite Christmas traditions?

    Monday, December 8, 2014

    Oatmeal, Craisin, and Chocolate Chip Cookies

    Note: I recently asked bloggers to share some of their favorite Christmas cookie recipes, along with memories of making them, with the hopes it could be an online version of a Christmas cookie exchange party. This recipe is the first of several cookies to be featured this month. I am contributing this recipe. Enjoy!

    One of my longtime favorite cookies to make have been oatmeal and chocolate chip ones, because I tell myself they're healthy (with oatmeal), despite there being chocolate in them, and you know being cookies and all.

    Lame, I know, but I do whatever I can to justify my sweet tooth.

    freshbakedcookie@katesrecipe

    I actually found a recipe variation with Craisins while I was clipping coupons a few weeks ago. Just picture me knitting a sweater with a dozen cats now. Haha.

    Anyway, Exhibit A:

    recipe@katesrecipe

    So now, not only do I have oatmeal to justify these as a "healthy" snack, but there's FRUIT too. Am I right? Haha. Anyway, these were really tasty and pretty easy to make. They'd be perfect for any holiday function, or any occasion, for that matter.

    Also, just to prove that despite all of the unintentional product placement in this post, I used Aldi brand dried cranberries in the recipe. :)

    Oatmeal, Craisin, and Chocolate Chip Cookies
    Recipe via Craisins

    Ingredients:
    • 2/3 cup butter, softened
    • 2/3 cup brown sugar
    • 2 large eggs
    • 1 1/2 cups old-fashioned oats
    • 1 1/2 cups flour
    • 1 teaspoon baking soda
    • 1/2 teaspoon salt
    • 1 five-ounce package of dried cranberries, aka Craisins
    • 2/3 cup white or semi sweet chocolate chips

    Directions:
    Preheat oven to 375 degrees.

    Using an electric mixer, beat butter and sugar together in a medium mixing bowl until light and fluffy. Add eggs, mixing well. Combine oats, flour, baking soda and salt in a separate mixing bowl. Add to butter mixture in several additions, mixing well after each addition. Stir in dried cranberries and chocolate chips.

    Drop by rounded teaspoonfuls onto ungreased cookie sheet. (I always used parchment paper when baking; it's a savior!) Bake for 10 to 12 minutes or until golden brown. Cool on wire rack.

    Makes approximately 2 1/2 dozen cookies.

    PS Also, just in case you want in on the fun, it's not too late to contribute. Email me at thriftburgher@gmail.com for all of the details. Recipe deadline is Monday, Dec. 15.

    Friday, December 5, 2014

    For the Love of Libraries:
    My reading goals

    Bookshelf

    It's kind of embarrassing to say, but even though I write for a living, I don't read recreationally as often as I would like.

    As a reporter, I read articles, local and national, from long form and Twitter feeds, almost constantly. But a book? Not nearly as much. (Personally, I think a lot of it has to do with my poor time management. But that's another story.)

    I think coming to my lack of reading realization was through watching Gilmore Girls, of all things. Mark can tell you he's totally over my watching binge on that. I watched the series for the first time on Netflix, rather than being nostalgic and watching it again. It was nostalgic in a different sense, since Rory was an aspiring journalist that whole time, and the show was on throughout my high school years.

    OK, the point: Rory seriously digests books. I Googled that she was filmed with more than 300 books throughout the seven-year series. I know she's a TV character and all, not a real human, but it still made me feel guilty.

    My reading has come in spurts, usually by author.

    Full disclosure: The first author I became obsessed with, in ninth or tenth grade, was Nicholas Sparks. (He's written some sappy romances novels, like The Notebook, A Walk to Remember, etc. etc.) So, so embarrassing. Haha. But I got over that eventually. Later in high school and in college, I fell in love with reading everything from David Sedaris, Chuck Palahniuk, Michael Chabon, Hunter S. Thompson. I was also obsessed with The Godfather for a time, thanks to an old boyfriend. Haha.

    But over the last year or two, I can count the number of books I've read with one hand. Recognizing I would like to fit in reading more, I'm trying to make a more conscious effort to do it.

    At the same time, over the years I've bought stacks of books, collecting from thrift stores, used book stores, and Amazon, and most of them end up collecting dust on my bookcase before ever cracking them open. No. Freaking. Longer.

    I've decided that as a way to get better about reading, while also avoiding wasting money on books, is to completely rely on my current book collection and the library (and perhaps, borrowing from friends) as my only book sources. I literally have rows of books (pictured above) that I've either read ages ago or never had the time to read. (Some are Mark's too.) There are also some new releases I've been eager to get my hands on, particularly Lena Dunham's Not That Kind of Girl.

    The library has been a great savior in my little money saving, literary experiment thus far. New releases and popular books are usually available, but on a waiting list.

    Perhaps getting a little too excited about this, I requested Amy Poehler's Yes Please, Lena Dunham's book, along with Gone Girl, and got them all within a week of one another. Poor me. So my current situation is I have to read three books in two weeks. (Books that are on hold at the library can't be renewed.) I'm done with Amy's book (it was OK), and I'm on Lena's book now, and hopefully I can start Gone Girl by the end of this weekend.

    Now that I've gotten back into the swing of reading, I have a mental list of others I'd like to conquer next: The Game of Thrones series, Charles Bukowski, and a few authors I couldn't get into when I was younger, like Ernest Hemingway and Jack Kerouac, and giving them another chance. I'm also trying to stay more accountable via GoodReads, which I've used sporadically over the last few years.

    What are some of your favorite reads? Have any book/author recommendations?

    Thursday, November 27, 2014

    Happy Thanksgiving!

    TurkeyDay

    Hope you guys are having an awesome day, and spending time with people who are important to you.

    I somehow cooked up the idea that I would host Thanksgiving this year and invite my family and Mark's. It's something I always wanted to do, but can't help but think I'll be in the fetal position in the kitchen or muttering under my breath all day. Or becoming a wino. Perhaps all of the above.

    I hope it turns out half as good as Friendsgiving over the weekend. (pictured above) Our friend Colin used a smoker to cook the turkey and it was probably one of the best turkey dinners I've ever eaten.

    Monday, November 24, 2014

    Pumpkin Cheesecake

    PumpkinCheesecake

    CheesecakeonTable

    Eat your heart out, Cheesecake Factory. For those of you who don't know, cheesecake is one of my favorite desserts. Being a sweet tooth and all, I'm never very picky, but I can have preferences, can't I?

    Mark's mom makes me cheesecakes for various special occasions. The most memorable was when she made THREE cheesecakes for my wedding shower. It was pretty low key, but there was so much damn food it was a little crazy. That included the pumpkin cheesecake which I remade over the weekend.

    We went to Friendsgiving on Saturday, so I felt ambitious and decided to try my hand at cheesecake. Mark and I got a springform pan for our wedding, and hadn't used it yet, so it seemed like the perfect opportunity. The cake was a bit more work than I was expecting, but the results were fabulous.

    Maybe if you're stumped on what to bring to Thanksgiving dinner, maybe give this recipe a try. It's a great twist on the traditional pumpkin pie.

    Pumpkin Cheesecake
    Recipe courtesy of my mother in law, Debbie

    Filling Ingredients:
    • 4 packages (8 oz) of cream cheese, softened
    • 1 can (15 oz) pure pumpkin
    • 5 eggs
    • 1 cup brown sugar
    • 2/3 cup sugar
    • 1/4 cup flour
    • 2 teaspoons pumpkin spice

    Crust ingredients:
    • 1 1/2 cups graham cracker crumbs
    • 6 tablespoons butter, melted
    • 1/3 cup sugar

    Directions:
    Crush graham crackers until fine. Stir in sugar, and then butter, until formed. Press down into springform pan, and press edges up the pan and inch or so. Bake crust for 10 minutes at 300 degrees.

    While crust is baking, assemble filling in two mixing containers. Mix together canned pumpkin, flour and pumpkin spice. Set aside. In mixing bowl, combine both sugars and cream cheese, and mix for a few minutes until smooth. Slowly add eggs, one by one, continuing to mix, and then add pumpkin mixture.

    Once crust is removed from oven and cooled for at least 15 minutes, add filling to pan.

    Bake for 70 to 90 minutes at 300 degrees. When finished, turn off oven and crack open oven door for another half hour. Remove cake from oven, loosen edges, and refrigerate overnight.

    Remove from springform pan and voila! An amazing cheesecake that everyone is ready to devour. :)

    Optional toppings include caramel, pecans, bittersweet chocolate drizzle, among others. Mark and I opted for sprinkling some almonds slices on top to keep it simple and give the cheesecake a little more texture.

    And a little somebody definitely wanted in on the fun. This little guy attacks us whenever we're in the kitchen making food, particularly when it involves milk-based products. (Say, for example... cheesecake.) It can be a little annoying sometimes, but he's too adorable to get mad at for long. Here's one of Waldo's signature beg faces:

    KittensCantHaveCheesecake

    What are some of your favorite Thanksgiving/winter holiday desserts?

    Thursday, November 20, 2014

    Ice Queen

    Sigh. The snow has come upon us. I think it's easy to tell how I feel about it:

    Dugout@Black&White

    Brrrrrr@Black&White

    CinderBlock@Black&White

    Honestly, the snow isn't so bad. It's just that, well, it's mid-November, and I'm not really ready for it to be 10 degrees every morning. It feels more like January right now. I'm all about the layering, wearing thick tights and cupping warm drinks, but not so much wearing winter coats, hiding my face in my scarf every time a cold breeze goes by, and slipping on ice while walking on the sidewalk.

    Luckily, I've been inspired to mix it up lately, outfit-wise, and didn't want to dress in a completely dreary way. I've been in a bit of an outfit slump lately, usually doing my go-to riding boots plus blouse and cardigan for work, but that was getting old. I always feel so inspired by the people around me, with life, goals, fashion sense, etc. (with the people I meet while reporting and in the blogosphere) that it's almost overwhelming. I've been calling it a creativity hangover.

    But instead of getting overwhelmed and shutting down like I usually do in stressful situations, I decided to experiment.

    I've mostly worn this skirt in the summer, but it's thick enough to be part of a winter ensemble, too, which I totally love.

    Here I am sans jacket and hat, pretending to look happy while standing in the season's first snow:

    Smiley@Black&White

    Outfit: Shirt and cardigan, thrifted; faux leather moto jacket, Wilson's Leather; skirt, Modcloth; tights and hat, H&M; flats, Famous Footwear.

    And because I FINALLY have enough outfit photos on my blog for some repeat wears here, I thought I'd show how I've worn the moto jacket and maps skirt earlier this year:

    InTheWoods@Badass     RockFormation2@Succop

    RIP, Fall foliage and summer greenery. :( Until next year, anyway.

    How are you all doing with the weather, in terms of dressing for your climate?

    Tuesday, November 18, 2014

    Call for Guest Posts:
    Favorite Holiday Cookie recipes

    Cookies11

    I'm sure it's not a unique perspective, but I've never met a Christmas cookie I didn't like. I love baking them, eating them, trading them. There can be so much meaning with a confectionary treat this time of year.

    In the weeks before Christmas, I would like to share a few of my favorite cookie recipes from over the years. However, I would really like this to be community-oriented, much like a cookie exchange party or a neighborhood cookie tour is, so I'm inviting all who are interested to submit guest posts about their favorite Christmas cookies. I'm looking for posts that include the recipe, some photos, and any fond anecdotes making/eating/sharing those cookies.

    Please email me at thriftburgher@gmail.com if you're interested!

    Monday, November 17, 2014

    Pittsburgh Vintage Mixer
    Giveaway Winner!

    Thanks to all who entered the raffle. The winner has been contacted.

    a Rafflecopter giveaway

    If you didn't win, don't let that deter you from going. Admission is $5, and goes from 9 a.m. to 3 p.m. this Saturday in Lawrenceville. You can get all the info you need here.

    Wednesday, November 12, 2014

    I stole Charlie Brown's shirt (kinda)

    FullBody@ZigZag

    SmileyRedLeaf@ZigZag

    CatEye@ZigZag

    Outfit: Sweater, thrifted; pants, Target; boots, Macy's.

    Doesn't the background look like one of those corny 80s backdrops? I love that I found a really cool clearing about two minutes from my house for these shots.

    I know this outfit isn't mind blowing or anything, but isn't this the sweetest sweater ever?? I found it at a thrift store awhile back, complete with shoulder pads. It's finally getting to be sweater season, so I've been wearing it to work quite a bit over the past few weeks.

    And I love mixing black and brown. (Like the lamest rebel ever would.) I just get an earthy vibe looking at all these colors together, and it feels relaxed but still fun. This may or may not be my last outdoor outfit post for a bit, just because it's supposed to get freezing now. Buh bye, leaves and jacket-free days.

    I'm usually not a fan of the cold, but I'm just thankful to see all the seasons, and thankful to be alive. I almost got into a serious car accident last week. To make a long story short: I hydroplaned while driving 70 mph. My car spun in circles on a major highway, with 18-wheelers approaching. I somehow came to a stop on the shoulder of the road, no damage done. I was shaken up, but relieved nothing happened.

    I buried the lede a bit, I know. Just trying to be a little more of an optimist right now, and trying to set some life and project goals that are really meaningful. I know it's corny as hell, but carpe diem, guys. :)

    AND just a quick reminder, Pittsburgh area readers can enter to win admission for two to the Pittsburgh Vintage Mixer on Nov. 22. Contest ends Friday.

    Tuesday, November 11, 2014

    Pennsylvania Prints

    I went to State College (home of Penn State University) over the weekend to visit some college friends who are living there now. It was great to be able to spend time with people I don't get to see very much anymore. And weirdly enough, it was my first time visiting State College, even though it's only about a three-hour drive away.

    My friend Lauren showed me around, and we explored the downtown area and checked out a few local wineries. We also went to a used bookstore downtown called Webster's, and I found this amazing Pennsylvania Prints book for 6 bucks!

    I thought I'd share a few images from it:

    PAprints-pittsburgh

    Lithograph, from 1902
    Published by T.M. Fowler & James B. Moyer

    PAprints-pioneer

    "The Pennsylvania Canal was built at a time when transportation was needed to connect communities across the eastern states. The western section of the Pennsylvania Canal, joining Johnstown and Pittsburgh, was completed in 1830. In 1832 the Juniata section was completed, and in 1834 the Allegheny Portage Railroad was put in service. The line was 300 miles long, cost $25 million to build, and was never profitable.

    In 1842 Charles Dickens traveled on the Canal Packet from Harrisburg to Pittsburgh. His eyewitness account is told in his American Notes, published the following year."

    Print on broadside, 1837
    Printed by Young, Philadelphia

    PAprints-panther

    "The mountain lion of Pennsylvania, mascot of Penn State since 1908, has many names: puma, deer tiger, panther, cougar, and catamount, among others..."

    Le Cougar de Pensilvanie
    Engraving, circa 1787

    PAprints-buchanan

    James Buchanan is the only U.S. president that's from Pennsylvania. I know I have an ancestor or two that were named after him.

    Lithograph, from 1856

    PAprints-washington

    Lithograph, circa 1847

    PAprints-viewofdelaware

    This is just a snippet of some of the prints featured in the book, all from the mid 1800s to the early 1900s.

    I'm glad I snatched this book up while I had the chance, not just because I've been such a sucker for local history lately, but also, because it looks like it's been out of print for awhile. It originally published in 1980, by the Penn State University Press, and the postcards, maps and photos had been used in a historical exhibition at the time. It had a little crease on the cover, so I guess that's how I was able to get the good deal. :)

    In addition to Pittsburgh and Philadelphia, there were old maps and postcards of Johnstown, Williamsport, Lewisburg, Easton, among other towns throughout the state.

    I think my favorite image, aside from the Pittsburgh map, of course, is the railroad advertisement, highlighting that a ride from Philly to Pittsburgh only takes 3 and a half days! Ha. The human race has come so far over the last 150 years.

    The book is titled Pennsylvania Prints, from the Collection of John C. O'Connor and Ralph M. Yeager.

    PS If you're local to Pittsburgh, don't forget to enter to win admission for two to the Pittsburgh Vintage Mixer! You can also read a Q&A I did with one of the event's founders, Bess Dunlevy. The giveaway ends on Friday night, and the mixer event is on Saturday, Nov. 22.